Easy DIY: Making A Pinhole Projector
Excited for the eclipse on Wednesday, August 12th from 6 pm, but don't have glasses to view it? Worry not, gardeners! We know every gardener has a mountain of plastic pots from repotted plants. Did you know you could turn these into a pinhole projector to view the eclipse?! It only takes a few steps and uses things you'll likely have around the house.
What You'll Need
| Gaffer tape (or any opaque tape) |
| Scissors |
| Tinfoil |
| Plastic pot (rinsed out) |
| Needle/pin/safety pin |
| Drainage tray (ideally with no holes) or a sheet of cardboard |
 |
Making Your Pinhole Projector
 |
 |
 |
|||
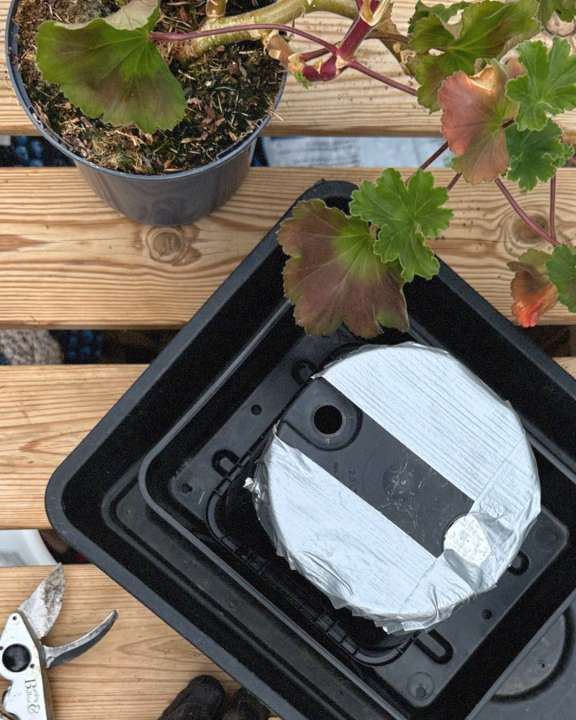
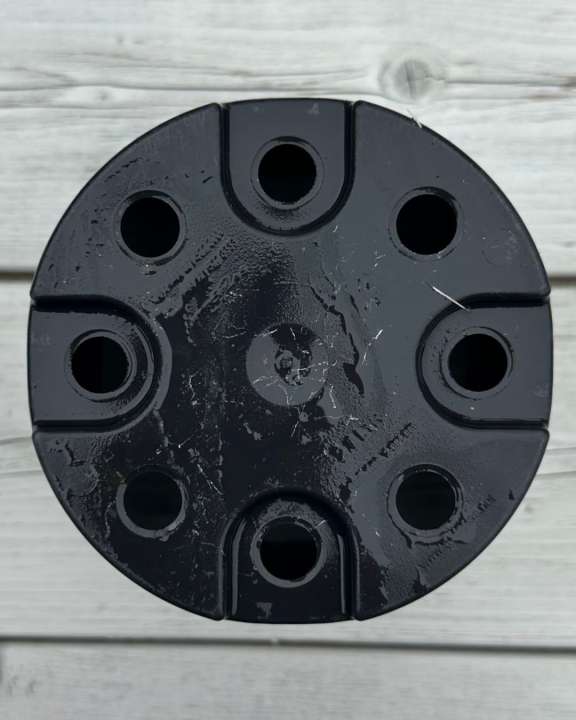
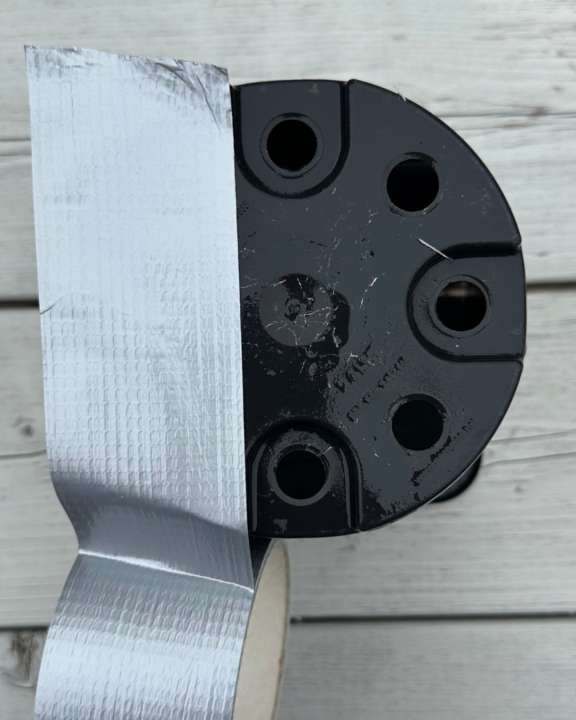
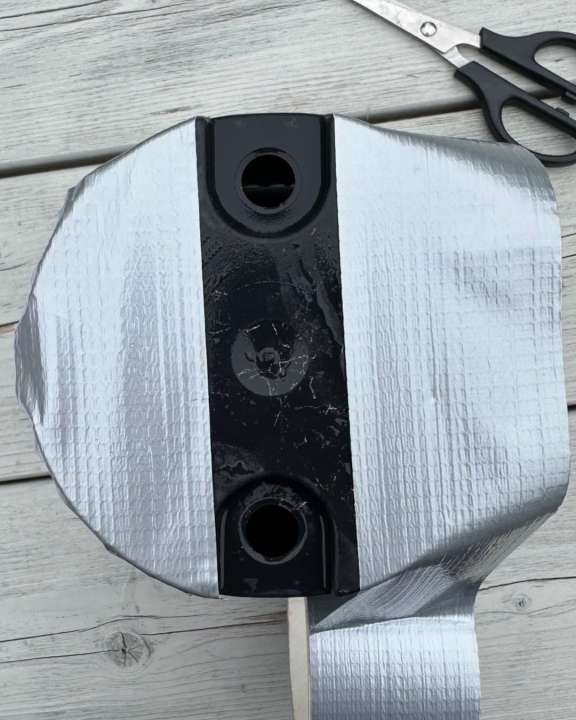
| 1. Flip your pot upside down and tape over the drainage holes on either side. Leave two holes opposite each other. One will become your viewing hole, and the other will be where the light comes through. | |||||
| Tip: Add a second (or even a third) layer of tape to make sure the covered drainage holes don't let light through - this will give you a clearer view | |||||
|
|
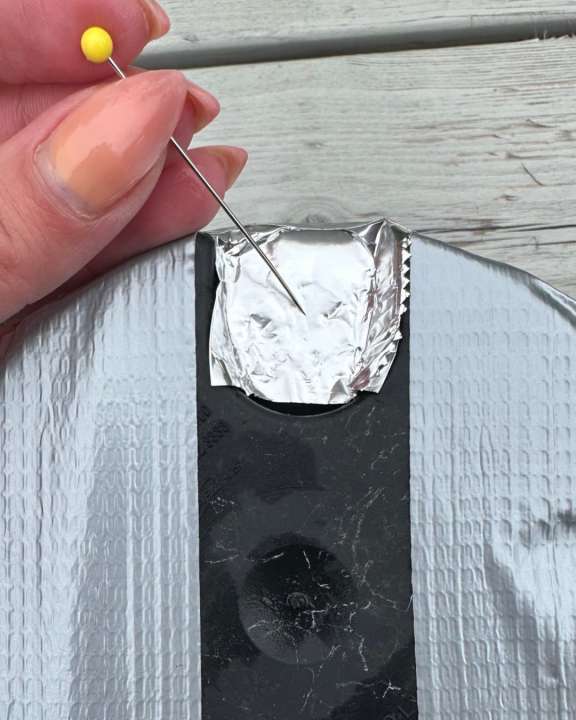
2. Put tin foil over the top hole and press it so it's flush with the drainage hole. Tape around the edges to keep it in place. 3. Prick a small hole in the tin foil using a needle or pin. |
||||
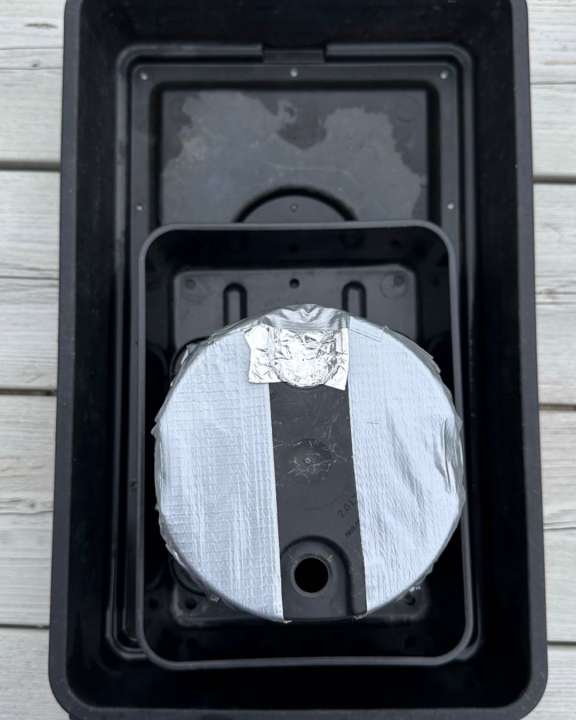 |
4. Place the plant pot facedown on a drainage tray or cardboard (or any flat surface you can hold the plant pot against up to your face). Make sure it is covering the opening of the plant pot; we doubled our drainage trays as they had holes! | ||||
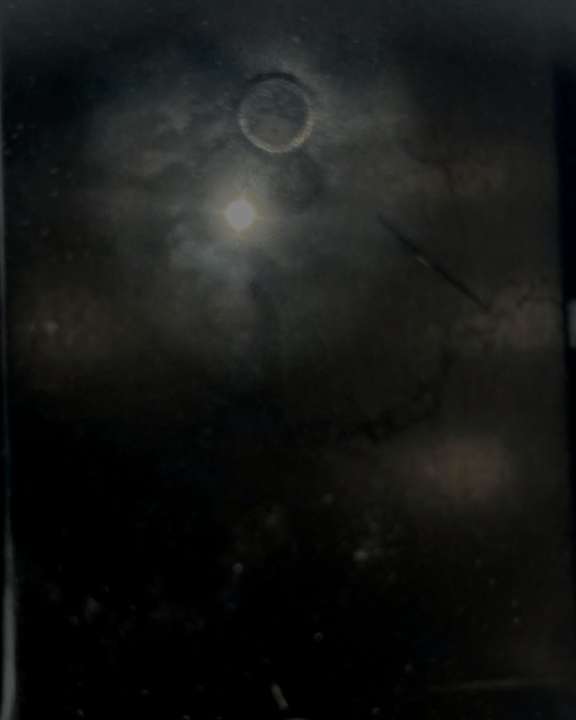 |
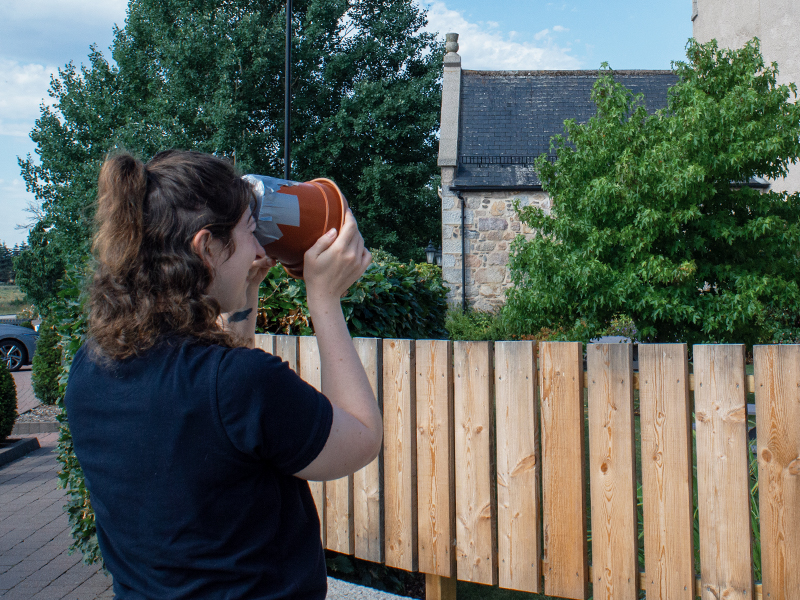
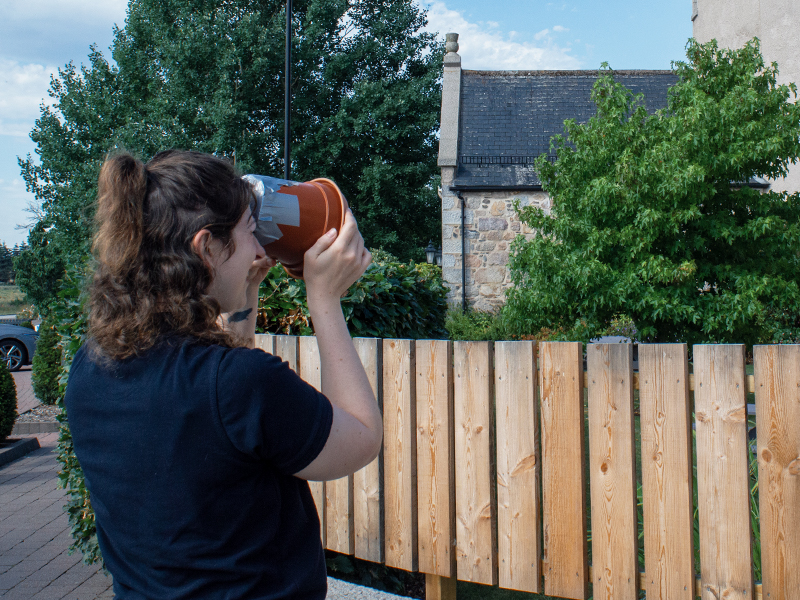
5. Stand with your back to the sun and look through the bottom hole to see the projected image. | ||||
 |
|||||
 |